Documentation Index
Fetch the complete documentation index at: https://docs.openai-nebula.com/llms.txt
Use this file to discover all available pages before exploring further.
Step 1: Install Kilo Code Extension
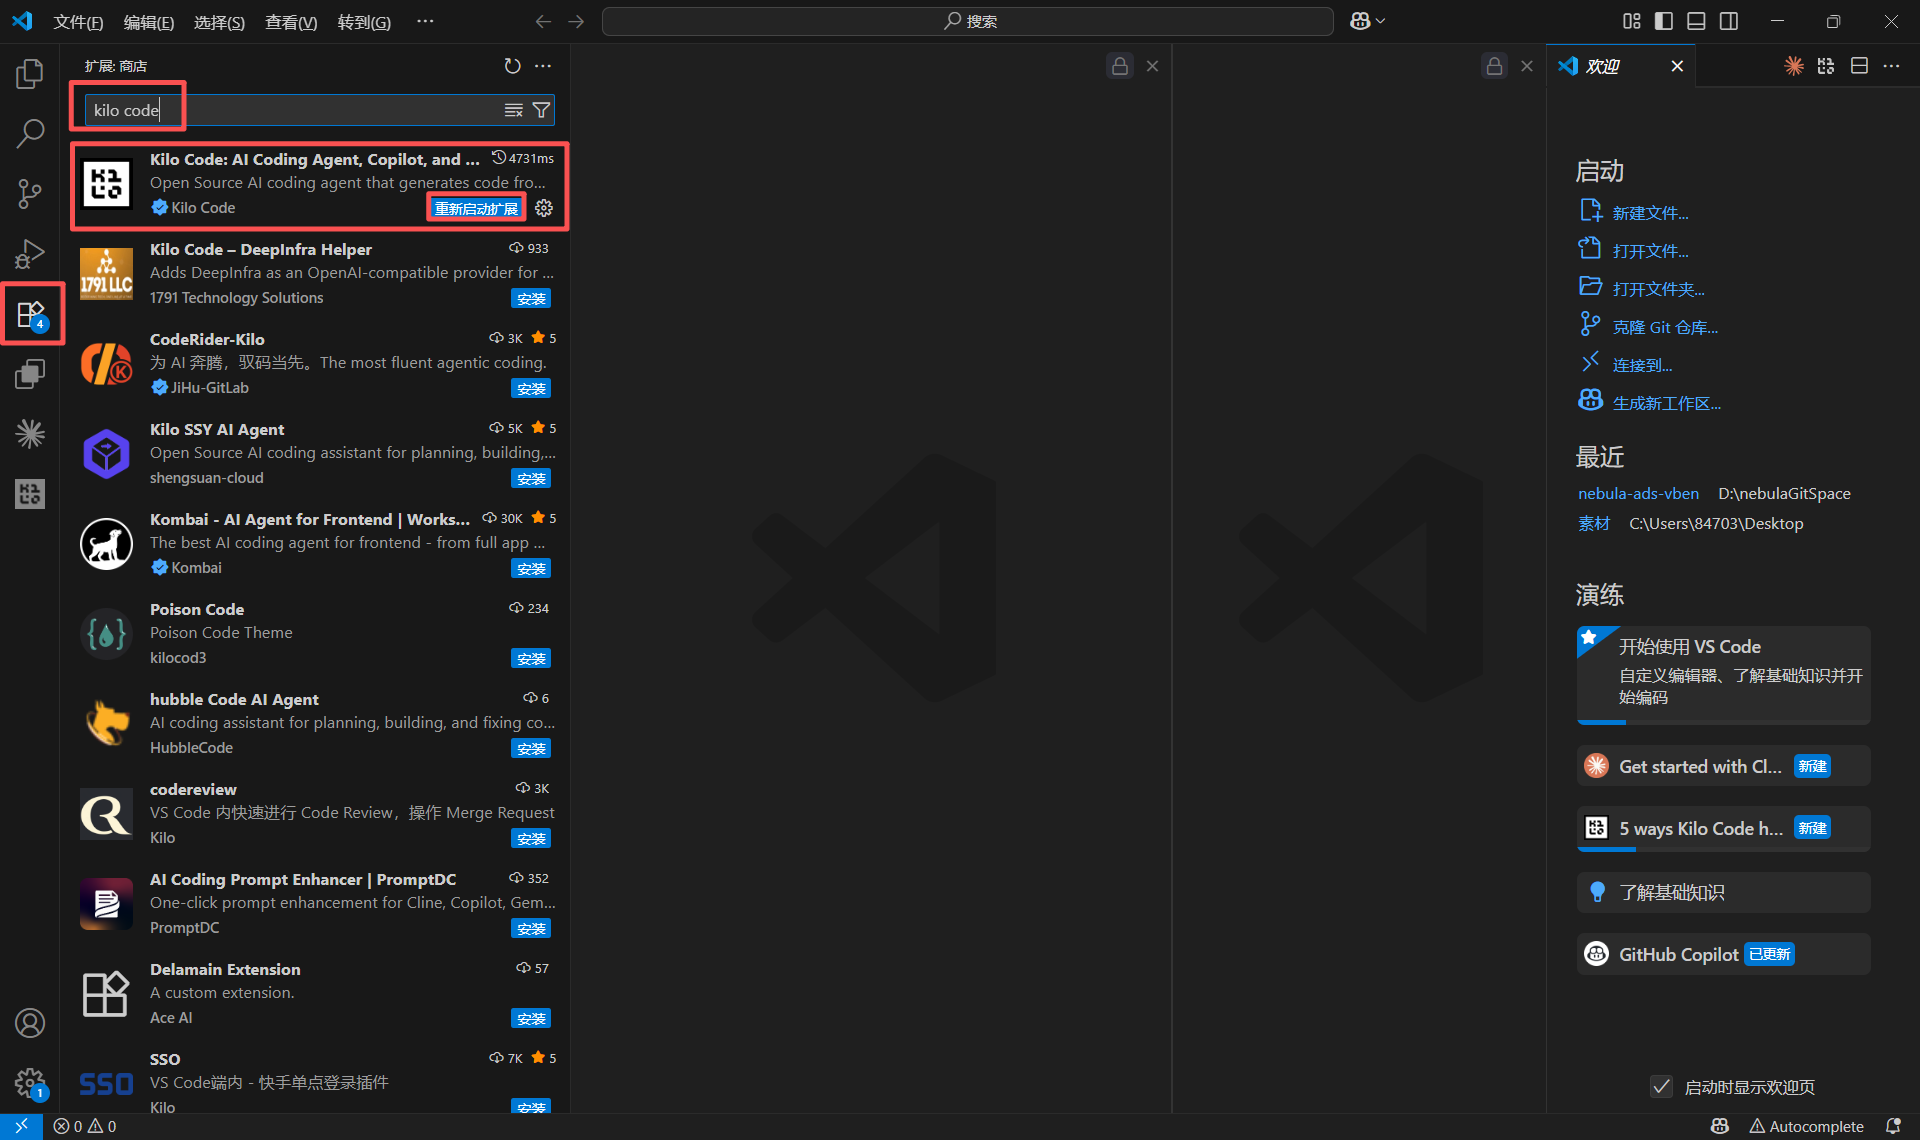
- Open VS Code editor, go to the “Extensions” panel on the left (Shortcut: Ctrl+Shift+X).
- Type “Kilo Code” in the search box in the Marketplace to find the official extension.
- Click the “Install” button to complete the installation.
Step 2: Configure API Provider
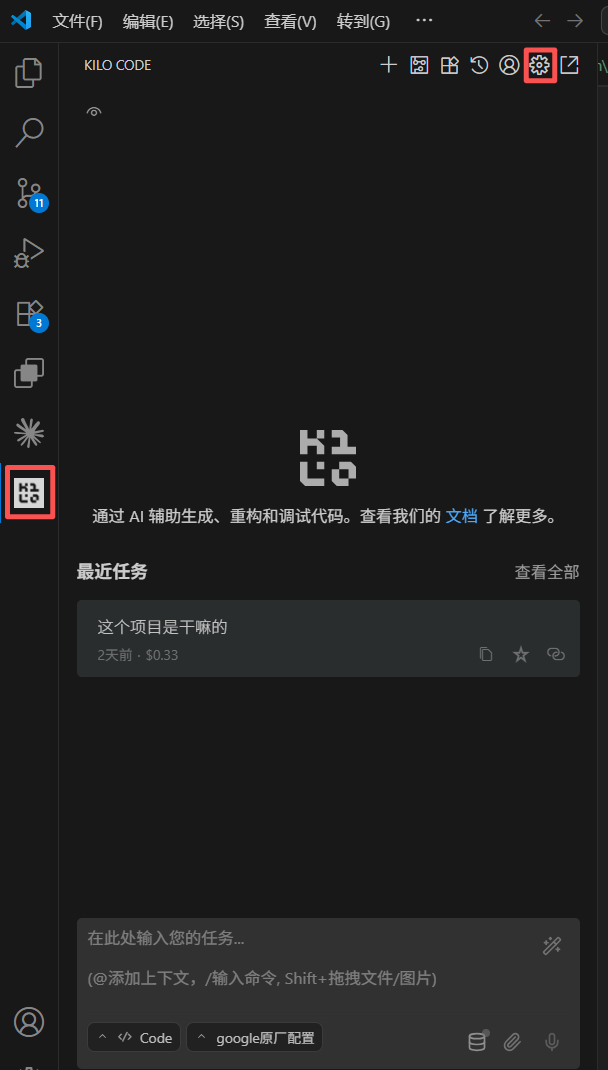
2.1 Open Settings Panel
- After installation, click the Kilo Code icon in the left activity bar to open the extension panel.
- Click the “Settings” gear icon in the top toolbar to enter the configuration page.
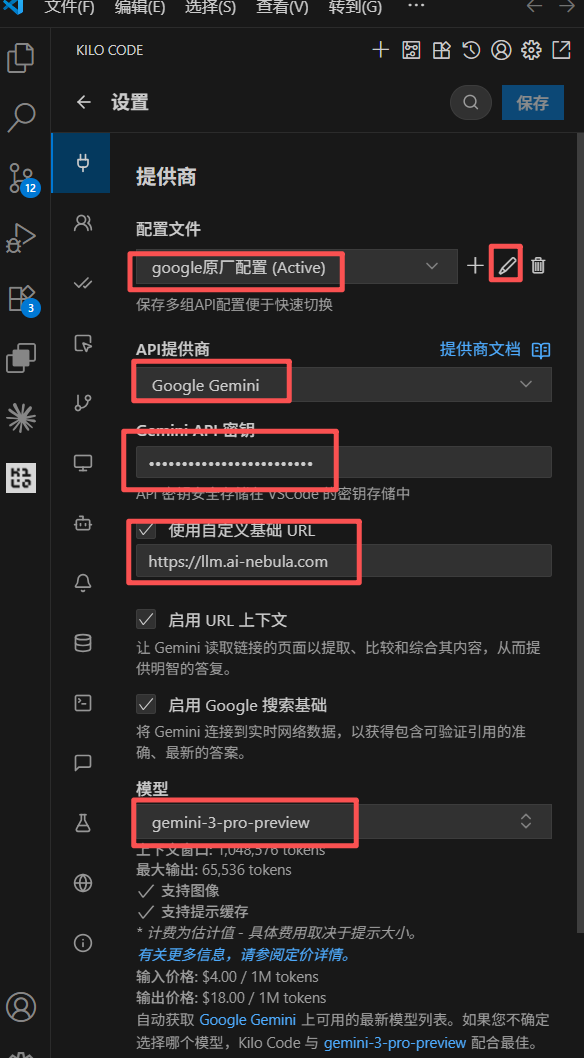
2.2 Configure Custom Provider
Configure the following in the “Provider” section of the settings panel:- Profile: Keep the default
default (Active). - API Provider: Select “Google Gemini” from the dropdown.
- API Key: Enter your API key (sk-xxxxx).
- Model: Enter the model name you want to use.
- Base URL: Enter
https://llm.ai-nebula.com. - Recommended for Coding:
gemini-3-pro-preview.
Step 3: Verify Connection
- After configuration, open any code file.
- Select a piece of code or place the cursor in an empty area, then click the Kilo Code icon or use the shortcut
Ctrl+I(Windows) orCmd+I(macOS) to open the Inline Chat input box. - Enter a test message (e.g., “Explain this code” or “Hello”). If you receive a response, the configuration is successful.